A Blazor frontend for the WebAssembly Planner duplication tool running on Fermyon spin
In my last blog post, I described a new version of my tool to duplicate Planner plans with adjustments. It might make sense to look into the why or at least the TL;DR if you haven’t read that. The next step is a frontend that should also allow people unwilling to tinker with REST calls to use it and because I like to play with new, shiny toys, I decided to build it with an interesting new Blazor component library called Ant Design Blazor.
The TL;DR
If you can figure out the deployment (more on that in the details and I aim to make it easier in the future as well), I hope the tool is very easy to use: You select the source plan, the target plan and the adjustments that you want to make, and the rest happens automatically:
Not 100 % polished yet, but it does the trick for me :)
The details: The frontend
As I wrote, I decided to go with Blazor and use Ant Design Blazor. I like development in Blazor a lot and once again, it didn’t disappoint. I just used the standard dotnet new blazorserver scaffolding and put some code in: If you have worked with Blazor before, really nothing fancy (and if not, I would highly recommend giving the “Build your first Blazor app” tutorial a try, especially if you have a C# / .NET background).
As I also mentioned already, I used Ant Design Blazor by following their Getting Started docs. As always with new libraries and components, it takes a bit to get used to, but the learning curve is really easy, especially with their great Components Overview, giving you a wide variety of samples and the code for them very easily reachable. Particularly impressive for me was the nested table component, which looks very nice and is coded in a heartbeat:
1
2
3
4
5
6
7
8
9
10
11
12
13
14
15
16
17
18
<Table DataSource="@groups[current]" TItem="Group" OnExpand="OnRowExpand">
    <RowTemplate>
        <PropertyColumn Property="g=>g!.DisplayName" />
        <PropertyColumn Property="g=>g!.Description" />
    </RowTemplate>
    <ExpandTemplate Context="rowdata">
        <Table @ref="planTables[rowdata.Data.Id + current]" DataSource="rowdata.Data.Plans"
    Loading="rowdata.Data.Plans==null" TItem="Plan">
            <RowTemplate>
                <PropertyColumn Property="p=>p!.Title" />
                <PropertyColumn Property="p=>p!.CreatedByGraphUser!.DisplayName" Title="Created by" />
                <ActionColumn Title="Select">
                    <Button OnClick="p => OnSelect(rowdata.Data, context)">Select</Button>
                </ActionColumn>
            </RowTemplate>
        </Table>
    </ExpandTemplate>
</Table>
Lines 2-5 define the “outer table” and lines 6-17 define the “inner table” when a row is expanded.
If you want to take a closer look, you can find more or less all the frontend code in Index.razor.
On a side note, I have for the first time defined a shared interface for both the actual “business logic” in the backend and the proxy object in the frontend which calls the backend. As it has to be async for the frontend, this led to some slightly weird code in the backend like functions with Task returns, but without async and returns that created those Tasks, e.g.
1
2
3
4
5
public Task<Group[]?> GetGroups(string? groupSearch = null)
{
    ...
    return Task.FromResult<Group[]?>(groupsResult.Groups);
}
so that I could write things like this in the frontend
1
2
3
4
5
6
7
public async Task<Group[]?> GetGroups(string? searchString)
{
    ...
    await using Stream stream = await client.GetStreamAsync($"/groups?groupSearch={searchString}");
    var groups = await JsonSerializer.DeserializeAsync<Group[]>(stream);
    return groups;
}
But it gives me great consistency to clearly understand which frontend part calls which backend part, and it also allowed me to easily restructure code when I needed to do that (more on that later), so I think I will try that a bit more in the future.
The details: Security
My backend just takes a Bearer token and uses it to call the Graph API. But how do we get that token? That really turned out to be more effort than I though because I found it quite difficult to follow a couple different tutorials and documents like Secure ASP.NET Core Blazor Server apps or ASP.NET Core Blazor Server additional security scenarios. My most important lessons:
- Make sure to create the Azure AD App Registration in the right way. That makes me Captain Obvious, I know, but I had to take quite a number of attempts to get it right. Instead of sharing the manual steps with you, I’ll keep this for a later blog post where I plan to share a script with you how to create it
- On the code side, it is easier. You need to add the right services in a couple of places (lines 1-4, 6, 8-12, 16) in Program.cs
1
2
3
4
5
6
7
8
9
10
11
12
13
14
15
16
builder.Services.AddAuthentication(OpenIdConnectDefaults.AuthenticationScheme)
    .AddMicrosoftIdentityWebApp(builder.Configuration.GetSection("AzureAd"))
    .EnableTokenAcquisitionToCallDownstreamApi()
    .AddInMemoryTokenCaches();
builder.Services.AddControllersWithViews()
    .AddMicrosoftIdentityUI();

builder.Services.AddAuthorization(options =>
{
    // By default, all incoming requests will be authorized according to the default policy
    options.FallbackPolicy = options.DefaultPolicy;
});

builder.Services.AddRazorPages();
builder.Services.AddServerSideBlazor()
    .AddMicrosoftIdentityConsentHandler();
- Your App needs to be inside a
<CascadingAuthenticationState>and has to have a<AuthorizeRouteView>as visible in App.razor - With that in place, you can write code like this to read your configuration and set up the Authorization header and base URL in an HttpClient, in my case in the BackendService.cs:
1
2
3
4
5
6
7
8
9
10
11
private async Task SetupClient(HttpClient client)
{
    var scopes = _configuration.GetSection("AzureAd:Scopes").Get<List<string>>();
    var backendUrl = _configuration.GetValue<string>("BackendBaseUrl");
    if (scopes == null || scopes.Count == 0)
        throw new InvalidOperationException("No scopes defined in AzureAd:Scopes, configuration is incomplete.");
    if (string.IsNullOrWhiteSpace(backendUrl))
        throw new InvalidOperationException("No BackendBaseUrl defined in configuration, configuration is incomplete.");
    client.DefaultRequestHeaders.Authorization = new AuthenticationHeaderValue("Bearer", (await _tokenAcquisition.GetAccessTokenForUserAsync(scopes.ToArray())));
    client.BaseAddress = new Uri(backendUrl);
}
- The configuration comes with a couple of defaults, but also needs the URL of your backend and the tenant ID, client ID and client secret of your app registration. As I currently only run it in development, I have so far only added it to appsettings.Development.json:
1
2
3
4
5
6
7
8
9
10
11
12
13
14
15
16
{
  ...
  "BackendBaseUrl": "...",
  "AzureAd": {
    "Instance": "https://login.microsoftonline.com/",
    "ClientId": "...",
    "TenantId": "...",
    "CallbackPath": "/authentication/login-callback",
    "ClientSecret": "...",
    "Audience": "https://graph.microsoft.com/",
    "Scopes": [
      "https://graph.microsoft.com/Group.ReadWrite.All",
      "https://graph.microsoft.com/User.ReadBasic.All"
    ]
  }
}
The details: Deployment and what I learned again about Fermyon spin
For a minute, I thought this part would be
1
2
spin login
spin deploy
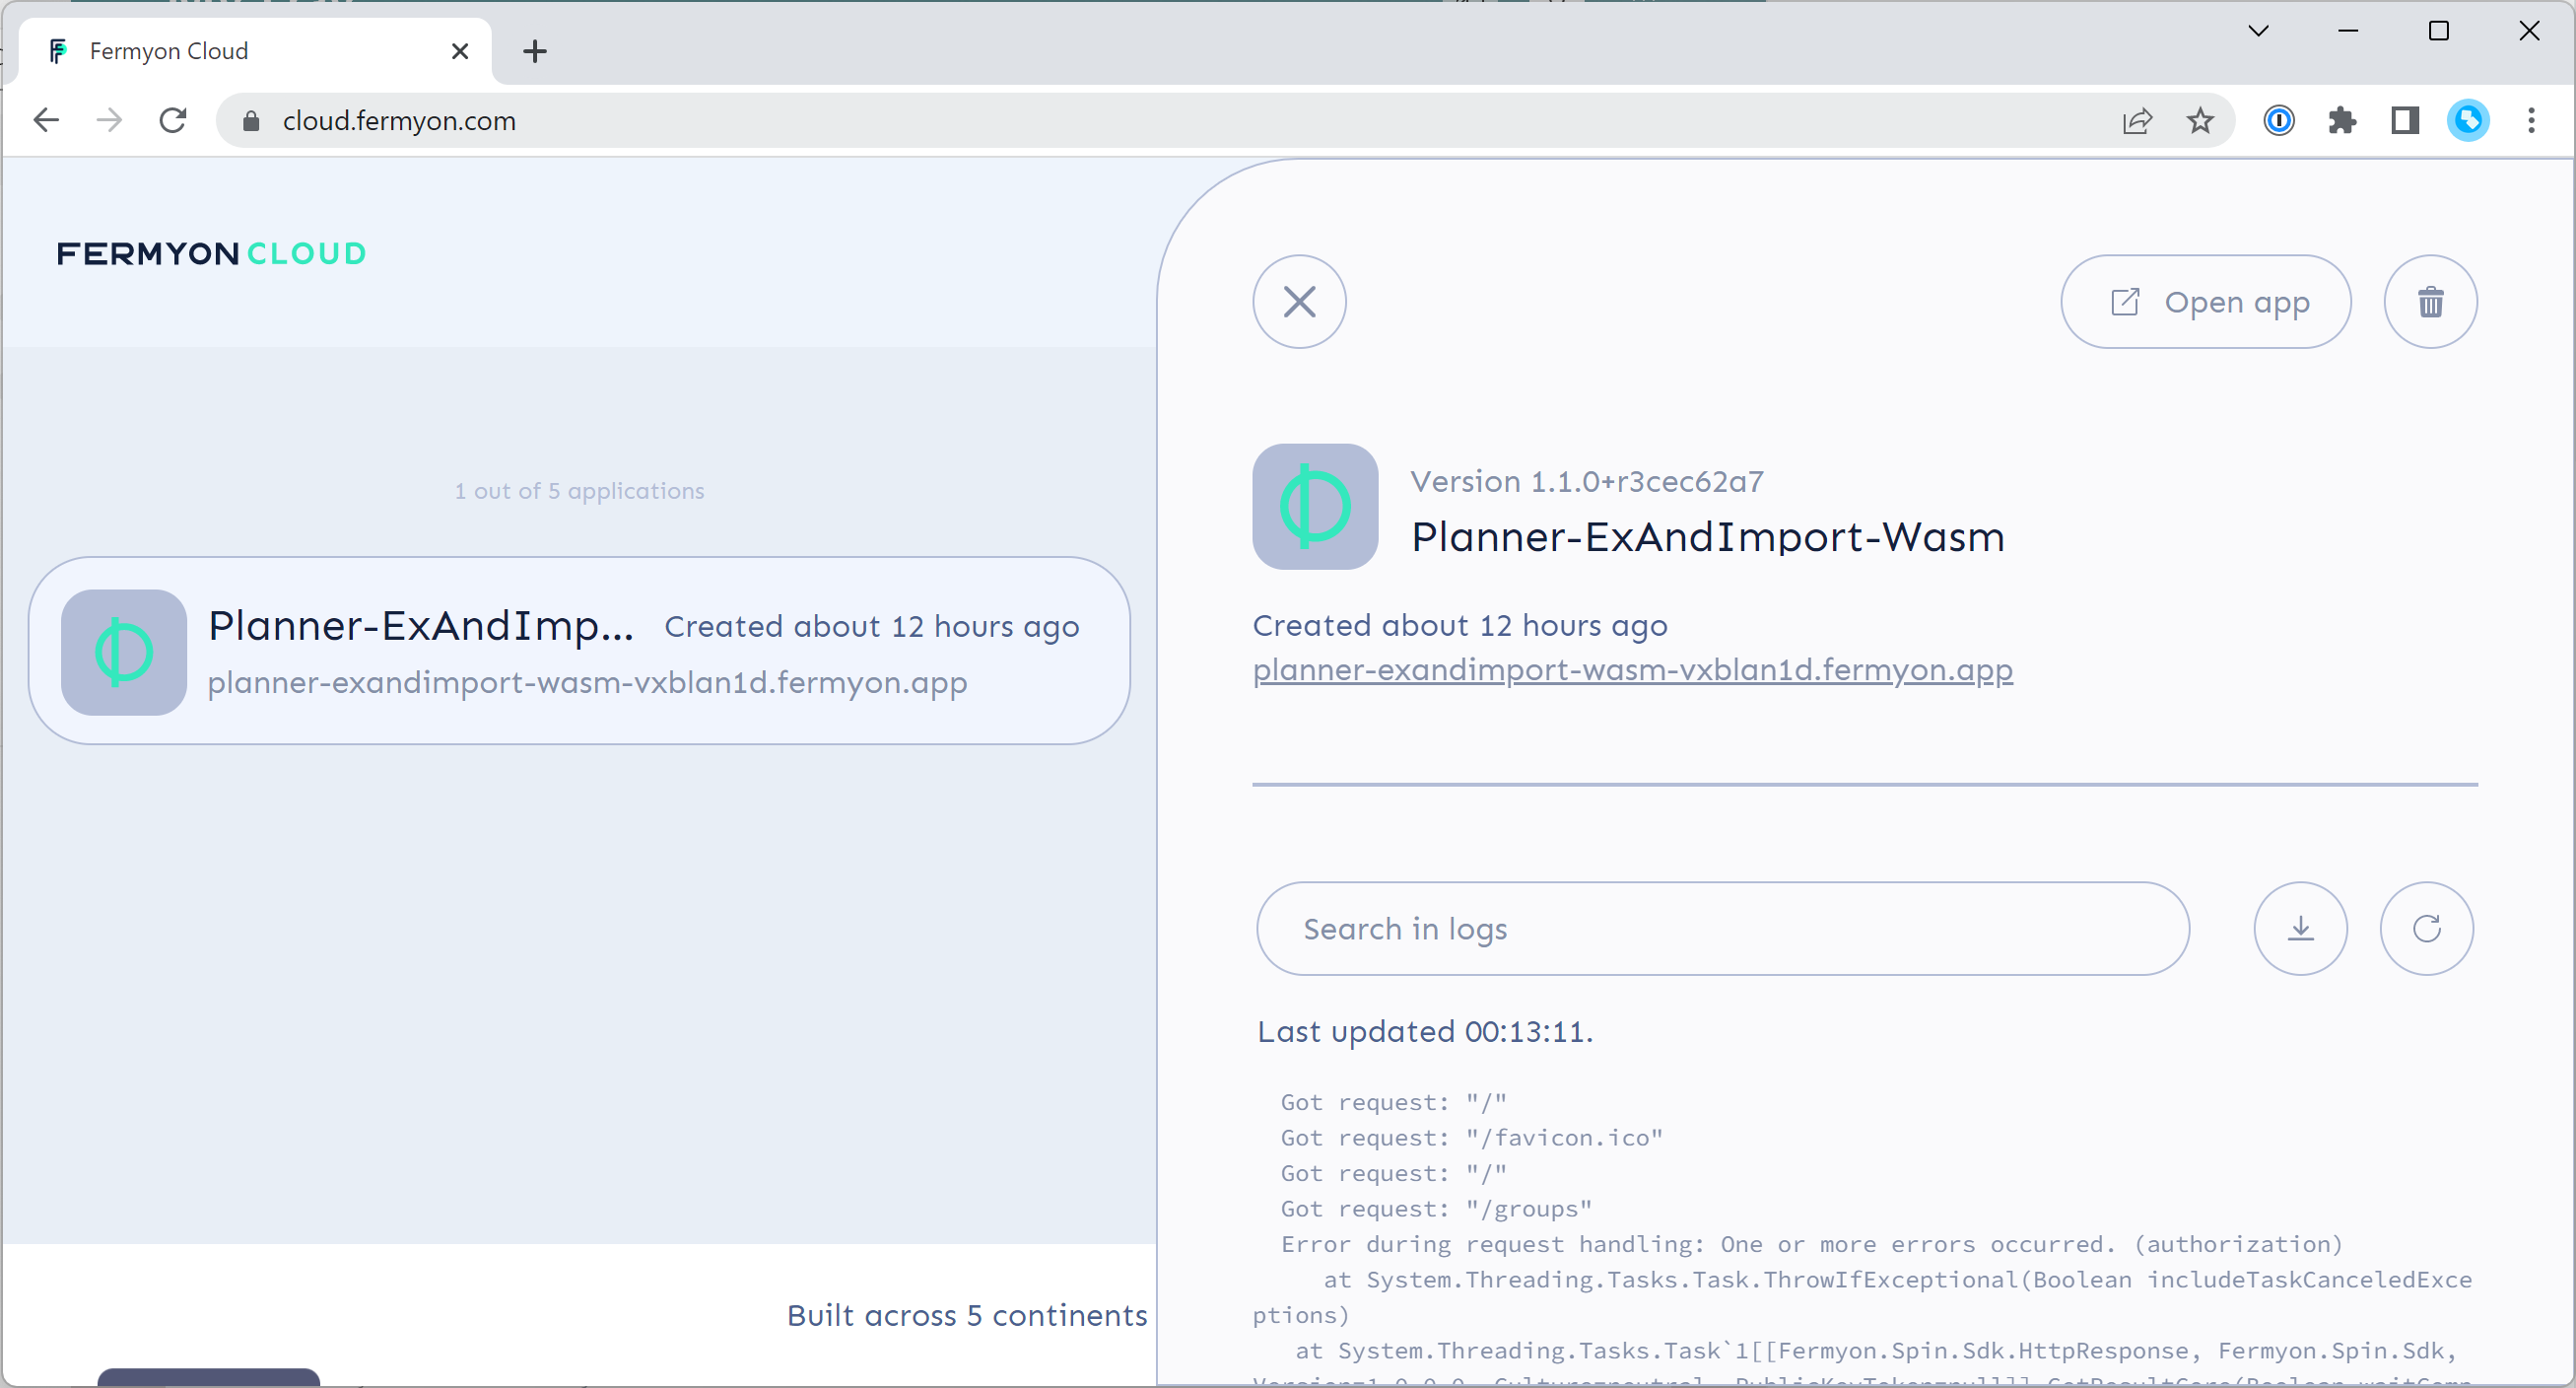
and that would be it. And actually, I am already pretty close to that and if I wouldn’t use C#, I think this already works. It uses the Fermyon Cloud, logs you in via GitHub and deploys your application. As a result, you get a nice-looking dashboard, a URL that you can use to call your application and the latest logs produced by it.

Using it unfortunately turned out to be not as stable as I had hoped. Thanks to the help of the Fermyon team on their Discord server, I could fix some parts of my code, but in the end still ran into unsolvable issues, but they told me that I can expect improvements in the near future. Because of that, I don’t want to go into too much detail and instead do a followup once things are fixed. As a very positive takeaway, I can only praise the openness and responsiveness of the Fermyon team who seemed to be happy to point me at the things that I had missed (although they were clearly stated in the docs) and also clearly stated when I ran into current limitations instead of hiding behind standard phrases. I get the impression that they are not only building a great product, but also a great team. It is early days, so some issues are absolutely expected, but the way that they handle them is very promising.
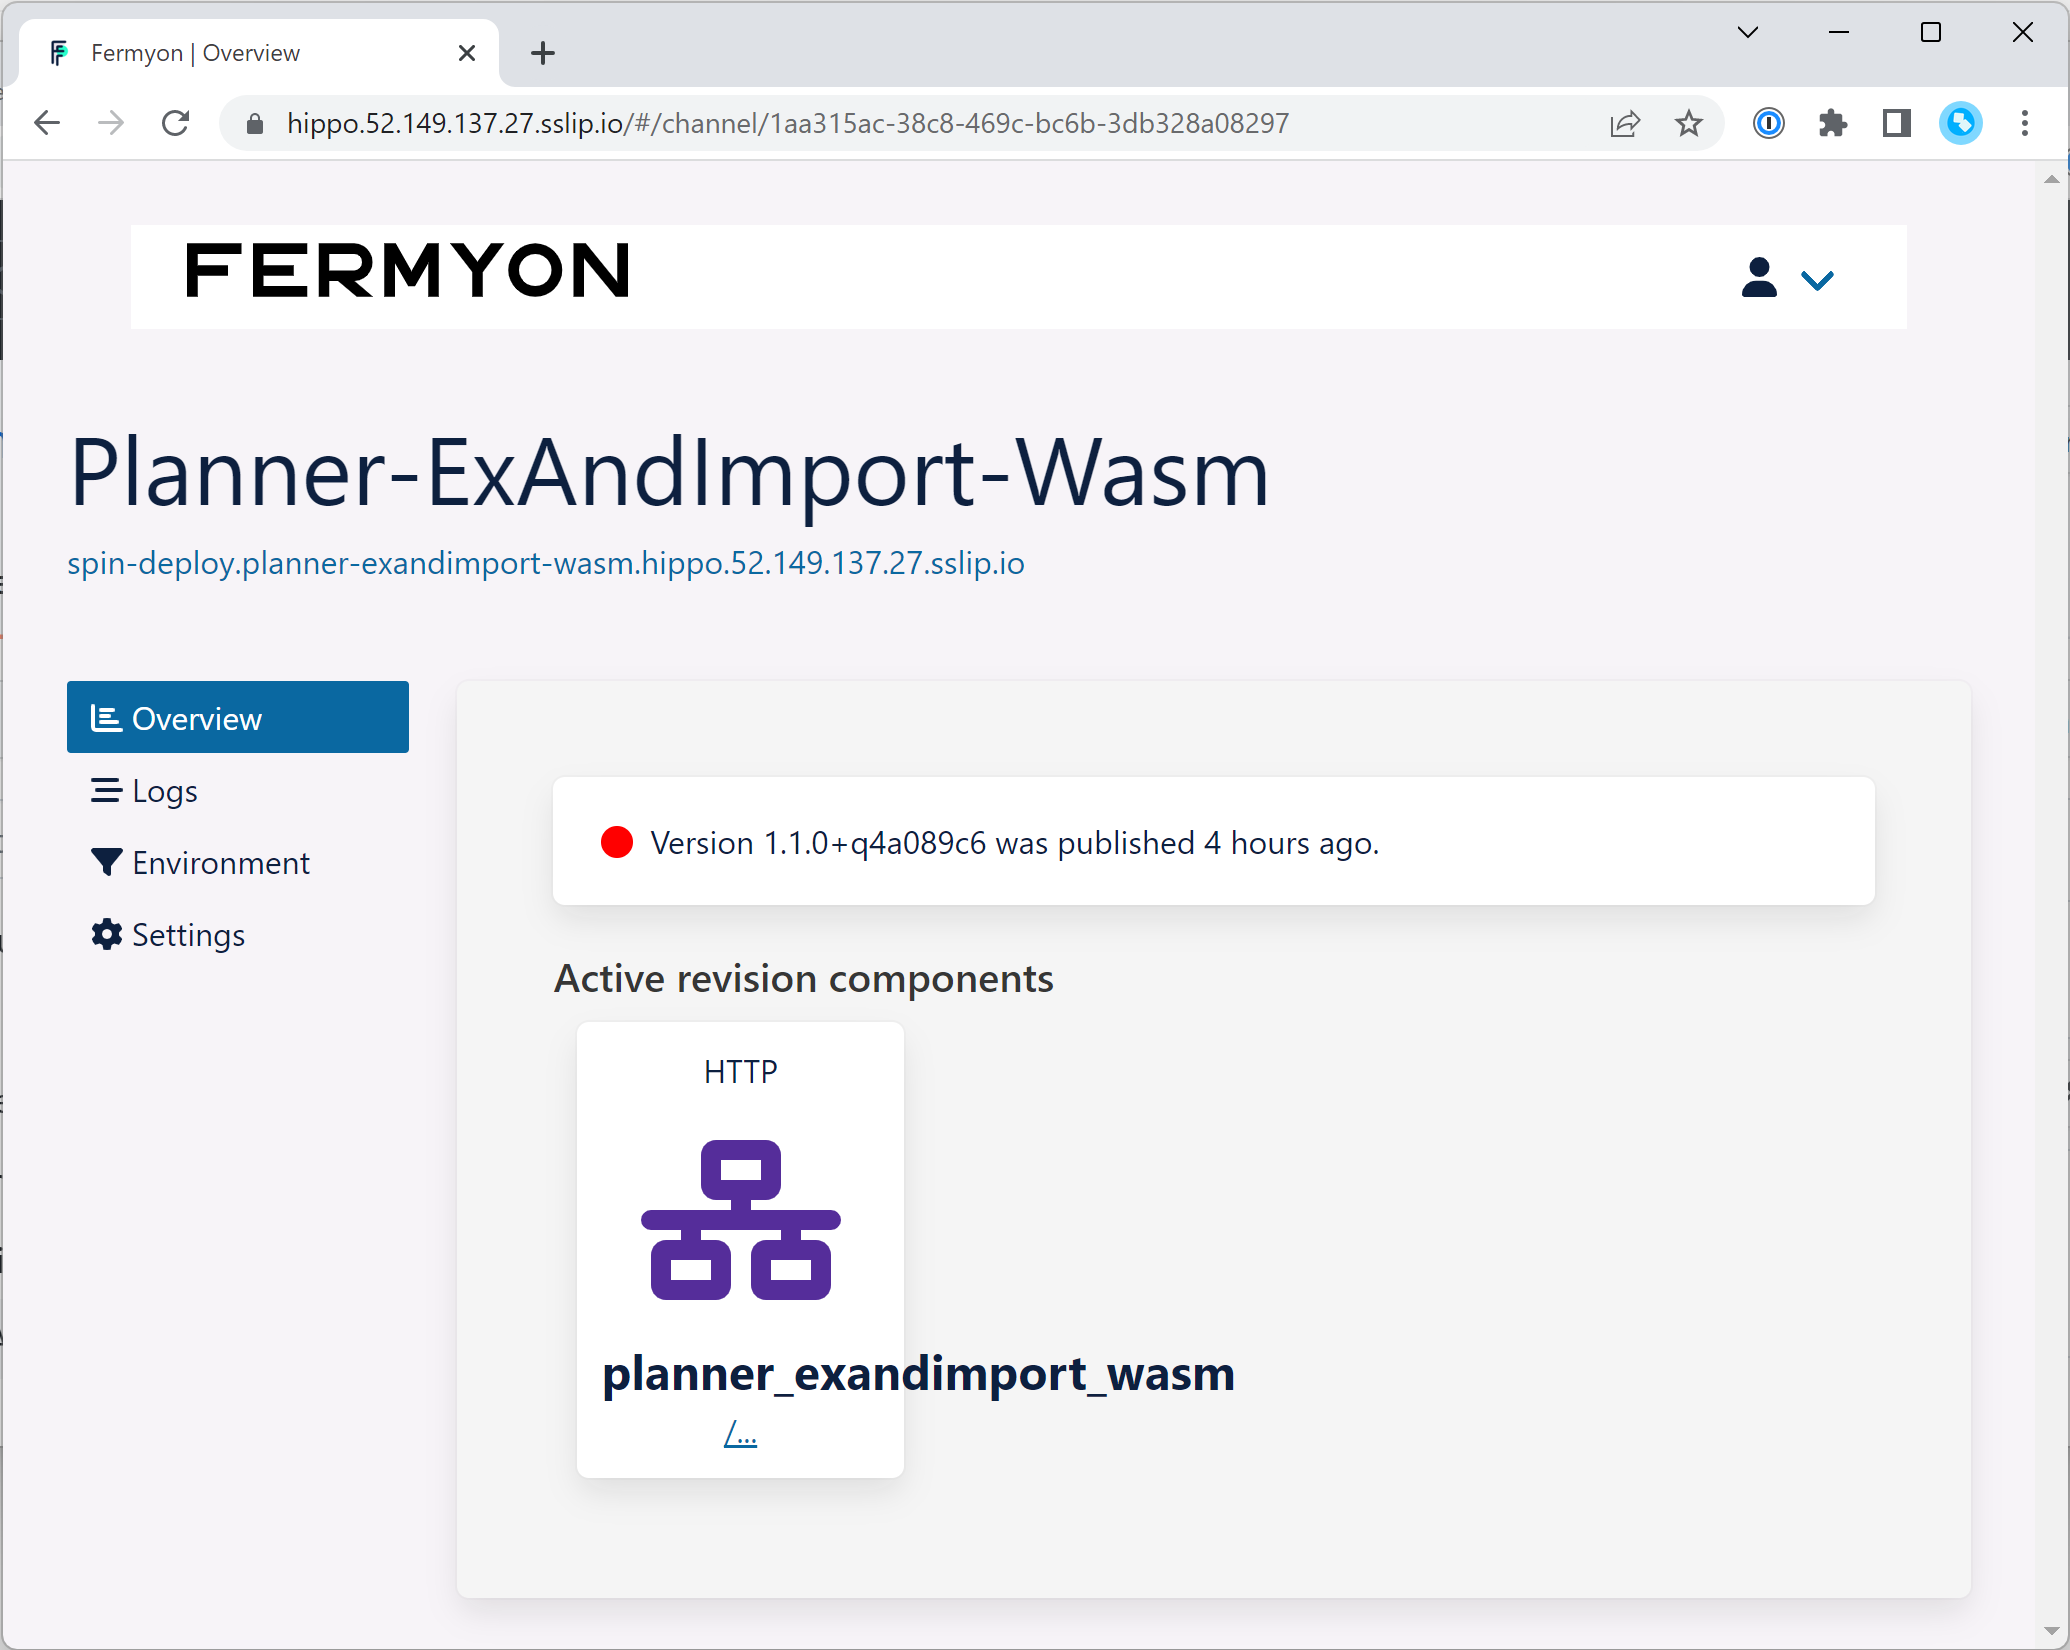
With that experience in mind, I also deployed the Fermyon Cloud on Azure, following their deployment guide. It uses Terraform to spin up a VM with Nomad, Consul, Vault, Traefik and the Fermyon platform itself. If that sounds like a professional round of bullshit bingo to you, then I can assure you that a) I am also far away from being an expert on those products and b) you absolutely don’t need to understand a thing about them to use the Fermyon Cloud, even if it is running in your Azure subscription. Some Terraform basics help, but all the rest you simply don’t see or have to care about. After following the very few steps of the installation guide, I ended up with a slightly less fancy version of the Dashboard that I had seen before, but basically with the same (and some more) features.

And this time, after I went through the same spin login, spin deploy short-story (only with the URL of my own instance as an additional argument), the application completely worked! The only slightly annoying thing is that I can’t see any logs from my application, neither in the dashboard nor in the logs of the Nomad jobs. Still a great result for only very little effort.
On a side note, running the backend in the GitHub Codespace that I use for development also works great so far. I ran into some stack issues, but I think that is more an issue of the .NET WASI SDK than it is a spin issue. Solving it was not a big deal thanks to the pattern mentioned above, because I could split a larger backend function where I read the whole plan and iterated of all the buckets, tasks and task details into a smaller version that only looked at and duplicated individual buckets. The code to iterate over the buckets was more or less copy/pasted to the frontend as both are using C# and the restructured interface also made it straightforward to keep both sides in sync.
The details: Things left to do
For the next blog post on this topic, I plan to show you how to easily create the required app registration and give you a stable deployment mechanism, both for the Blazor client and the spin backend component (preferrably in the Fermyon Cloud). Let me know if you see other parts of the story that you would be interested in and that I didn’t explain so far.
Webmentions:
-
-
A Blazor frontend for the WebAssembly Planner duplication tool running on Fermyon spin tobiasfenster.io/a-blazor-front… #wasm #frontend #webdev
.png)