.png)
Running Linux and Windows containers at the same time on Windows 10
I am typically using Docker on my Windows 10 laptop for dev containers, which (unfortunately) means only Linux containers, although my professional context mostly is Windows-oriented. However I recently did a demo using a local Windows container, so I had to switch back and forth and while I think I have seen the following message before, for the first time I read it properly:
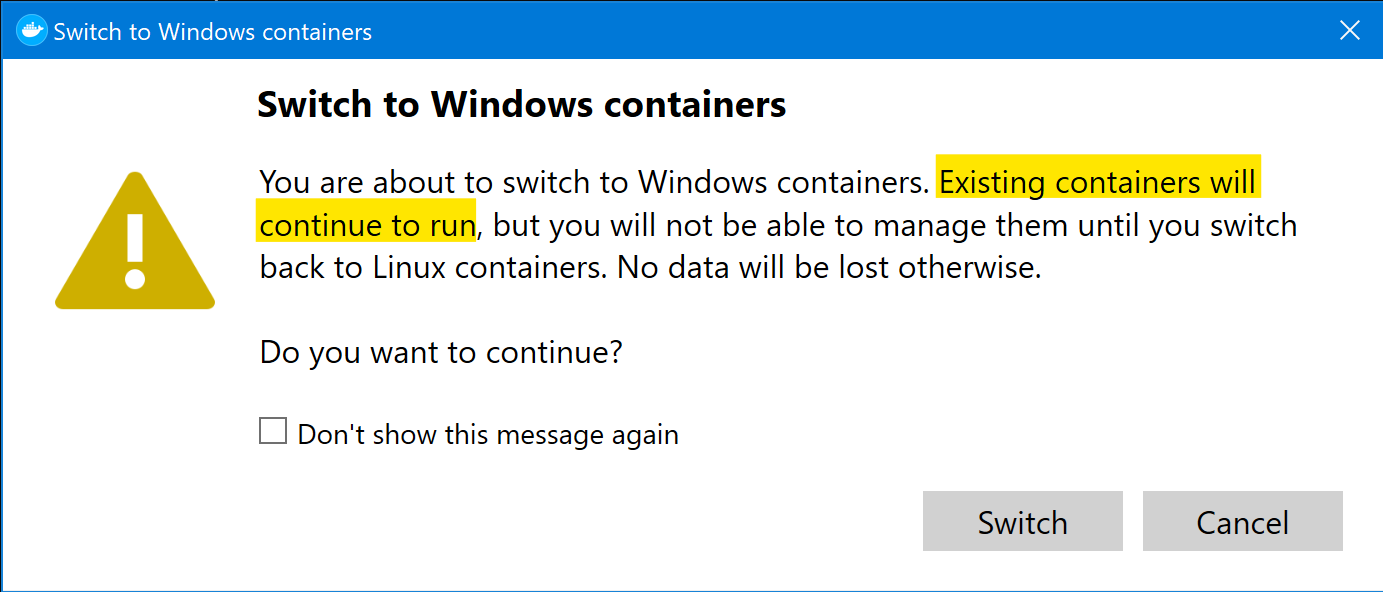
Especially the yellow part got my interest as it clearly states that Linux containers keep running even if you switch to Windows containers. I’ve been tinkering with that idea since 2016, so I decided to give it a try again. As a test case I used a Linux container for MS SQL and a Windows container for MS Dynamics 365 Business Central because official support for that combination was recently announced.
The TL;DR
It works :) I was able to create a Linux MS SQL container, restore a Business Central database and connect a Windows Business Central container to it. To easily handle and manage them, I also created a Portainer container connecting to both parts because Docker Desktop can only handle one at the same time.
The details: Setting it up
I am assuming that you are running the following on Windows 10 with Docker Desktop installed, including WSL2 on Windows 10 and usage of it enabled in Docker Desktop.
Step one is to get the database backup file which we want to use to restore the Business Central database. Thanks to bccontainerhelper and it’s artifact concept, that is only a PowerShell command away:
1
2
Import-Module BcContainerHelper
Download-Artifacts -artifactUrl (Get-BCArtifactUrl -type OnPrem -country de)
With that we get the necessary .bak file in C:\bcartifacts.cache\onprem\<version>\de\database, in my case C:\bcartifacts.cache\onprem\18.0.23013.23795\de\database.
Step two is the Linux MS SQL container. For that, make sure that you are running in Linux container mode in Docker Desktop or switch to that. Then go to your WSL2 distribution and run the following command:
1
docker run -e 'ACCEPT_EULA=Y' -e 'SA_PASSWORD=Passw0rd*123' -p 1433:1433 -v /mnt/c/bcartifacts.cache/:/mnt/bcartifacts.cache -d mcr.microsoft.com/mssql/server:2019-latest
This runs a Linux MS SQL container with the given SA password, accessible on port 1433 of the host and with the bcartifacts.cache folder mapped to a folder in the container. Now it is time to restore the database. You can use any SQL tool for that, but I chose Azure Data Studio1 and connected as you can see in the following screenshot:
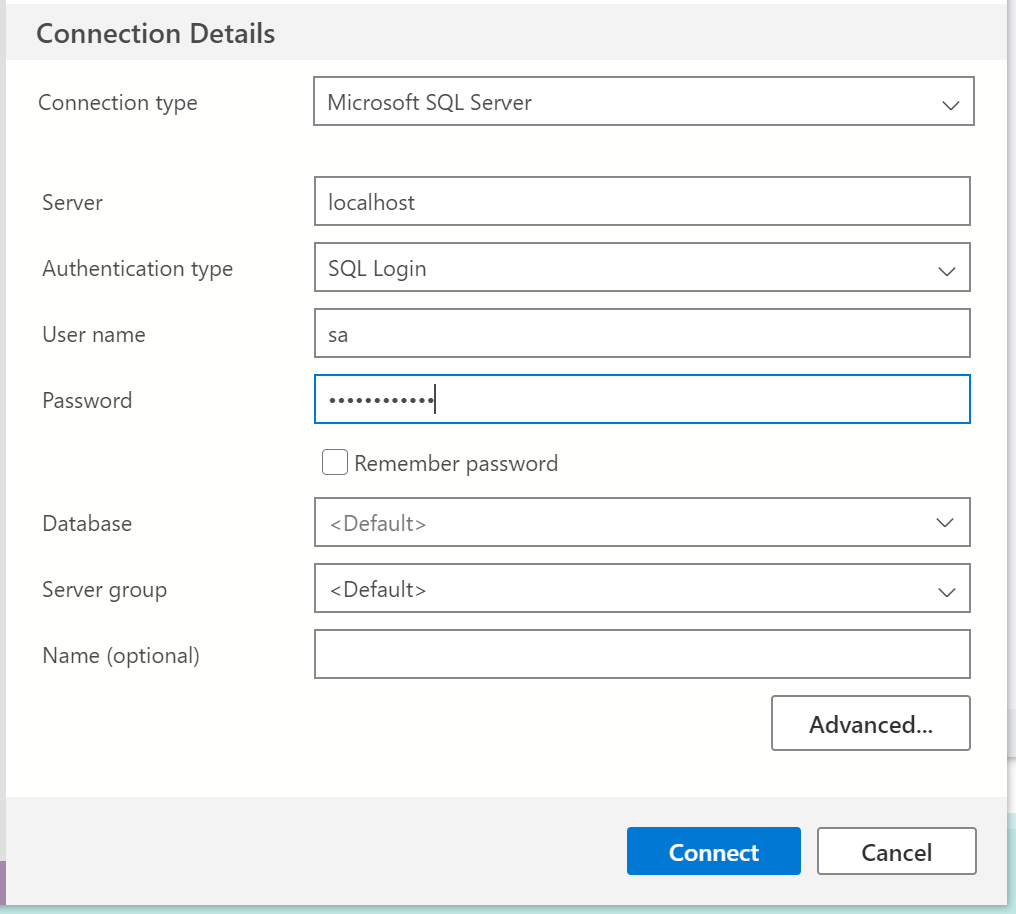
After that successfully worked, I restored the database file /mnt/bcartifacts.cache/onprem/18.0.23013.23795/de/database/Demo Database NAV (18-0).bak as explained in the official documentation.
Step three is the Windows Business Central container. For that, switch back to Windows container mode in Docker Desktop and run the following command, which is leaning heavily on output generated by the great New-BCContainerWizard cmdlet:
1
2
3
4
5
6
7
8
9
10
11
12
13
14
15
16
17
18
19
20
21
22
23
24
$containerName = 'bclinux'
$password = 'Passw0rd*123'
$securePassword = ConvertTo-SecureString -String $password -AsPlainText -Force
$credential = New-Object pscredential 'admin', $securePassword
$auth = 'UserPassword'
$artifactUrl = Get-BcArtifactUrl -type 'OnPrem' -country 'de' -select 'Latest'
$databaseServer = 'host.containerhelper.internal'
$databaseName = 'Demo Database NAV (18-0)'
$databaseUsername = 'sa'
$databasePassword = $password
$databaseSecurePassword = ConvertTo-SecureString -String $databasePassword -AsPlainText -Force
$databaseCredential = New-Object pscredential $databaseUsername, $databaseSecurePassword
$lic = 'C:\bcartifacts.cache\onprem\18.0.23013.23795\de\database\Cronus.flf'
New-BcContainer `
    -accept_eula `
    -containerName $containerName `
    -credential $credential `
    -auth $auth `
    -artifactUrl $artifactUrl `
    -imageName 'myimage' `
    -databaseServer $databaseServer -databaseInstance '' -databaseName $databaseName `
    -databaseCredential $databaseCredential `
    -updateHosts `
    -licenseFile $lic
As you can see in line 7, we are connecting to the SQL server seemingly on the host, which works because we have added -p 1433:1433 to our docker run command for the Linux SQL Server, which means that port 1433 on the host actually connects us to the SQL server in the Linux container. When this command has finished, we only need to create a user2. For that, we get a PowerShell session into the container with the BC cmdlets preloaded by running docker exec -ti bclinux powershell -noexit c:\run\prompt.ps1. Once that session is open, the following lines give you a user with a known password:
1
2
New-NAVServerUser -UserName admin -Password (ConvertTo-SecureString -String "Passw0rd*123" -AsPlainText -Force) BC
New-NAVServerUserPermissionSet -UserName admin -PermissionSetId SUPER BC
After that has finished, you can go to http://bclinux/BC and log in in with the username and password above. Your BC server is running on Windows, but the connected SQL Server is now running on Linux!
The details: Managing it with Portainer
The only thing which isn’t ideal in my opinion is that you have to switch back and forth with Docker Desktop to manage both the Windows and the Linux containers. Portainer allows you to manage multiple so-called “endpoints” at the same time, and we can use that functionality to make life a bit easier in our scenario. Portainer can either connect through TCP or through named pipes (Windows) / sockets (Linux), so I decided to run a portainer agent on the Windows side, while connecting to the Linux container using sockets. To get my Portainer container, I ran the following command in the Linux shell:
1
docker run -d -p 9000:9000 --name=portainer --restart=always -v /var/run/docker.sock:/var/run/docker.sock portainer/portainer-ce
As the portainer GUI port 9000 is mapped to port 9000 on the host, I connected to http://localhost:9000 where I found the Portainer initialization screen. I set up a password, logged in, selected “Docker - Manage the local Docker environment” and hit connect. The last step was to not only have the Linux endpoint, but to add the Windows endpoint as well.
For that, I first started the agent on the Windows side like this:
1
docker run -d --name portainer_agent --restart=always -v \\.\pipe\docker_engine_windows:\\.\pipe\docker_engine portainer/agent
I then found the IP address of the agent container with the following command, so that we can later connect to it
1
docker inspect -f '{{range.NetworkSettings.Networks}}{{.IPAddress}}{{end}}' portainer_agent
With that, I went to “endpoints” in portainer, clicked on “Add agent”, entered “Windows” as the name and the IP address from above with port 9001 as endpoint URL and clicked “Add endpoint”. Afterwards I went back to “endpoints” and renamed the initial “local” one to “Linux” to immediately identify the OS. Now the Portainer home page looked like this and I could easily and quickly switch between the environments:
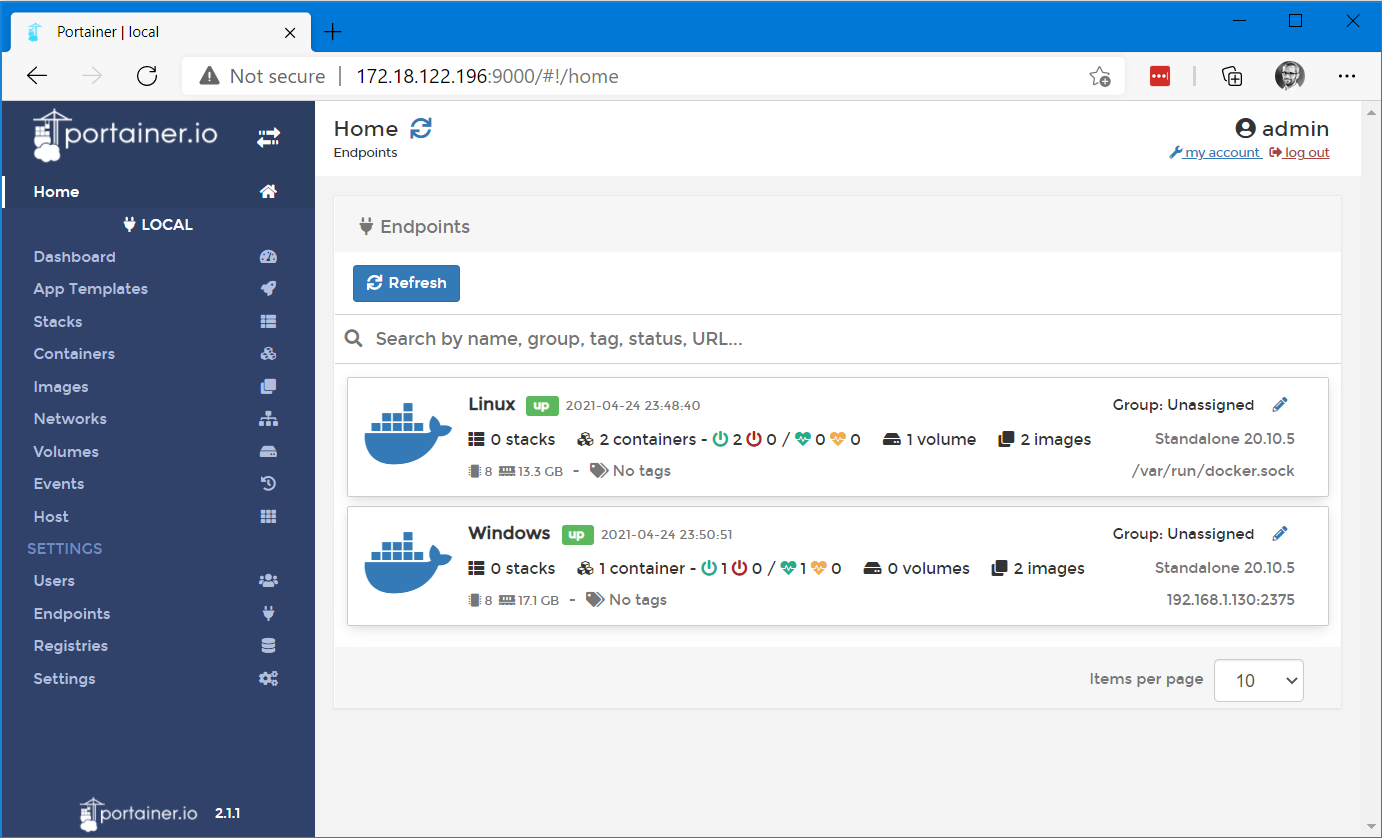
With that, I had my Windows Business Central container, connected to the Linux SQL Server container, managed through the Linux Portainer container and all running on my Windows 10 laptop. Pretty neat, right?
-
Quickest way to install is probably
choco install azure-data-studioif you already have Chocolatey installed. If you haven’t, you should ;) ↩ -
because bccontainerhelper and the BC image don’t create a new user even if we provide username and password, if the container connects to an existing database ↩
Webmentions:
-
-
-
Need to run Linux and Windows Docker containers at the same time on your Windows 10 machine? Catch this new blog post bit.ly/32U06QJ from our Ambassador @tobiasfenster #docker #DevOps #Windows10 #containers
 Portainer.io
 Szabo Adam


